Choose cookies that will be comfortable to bite
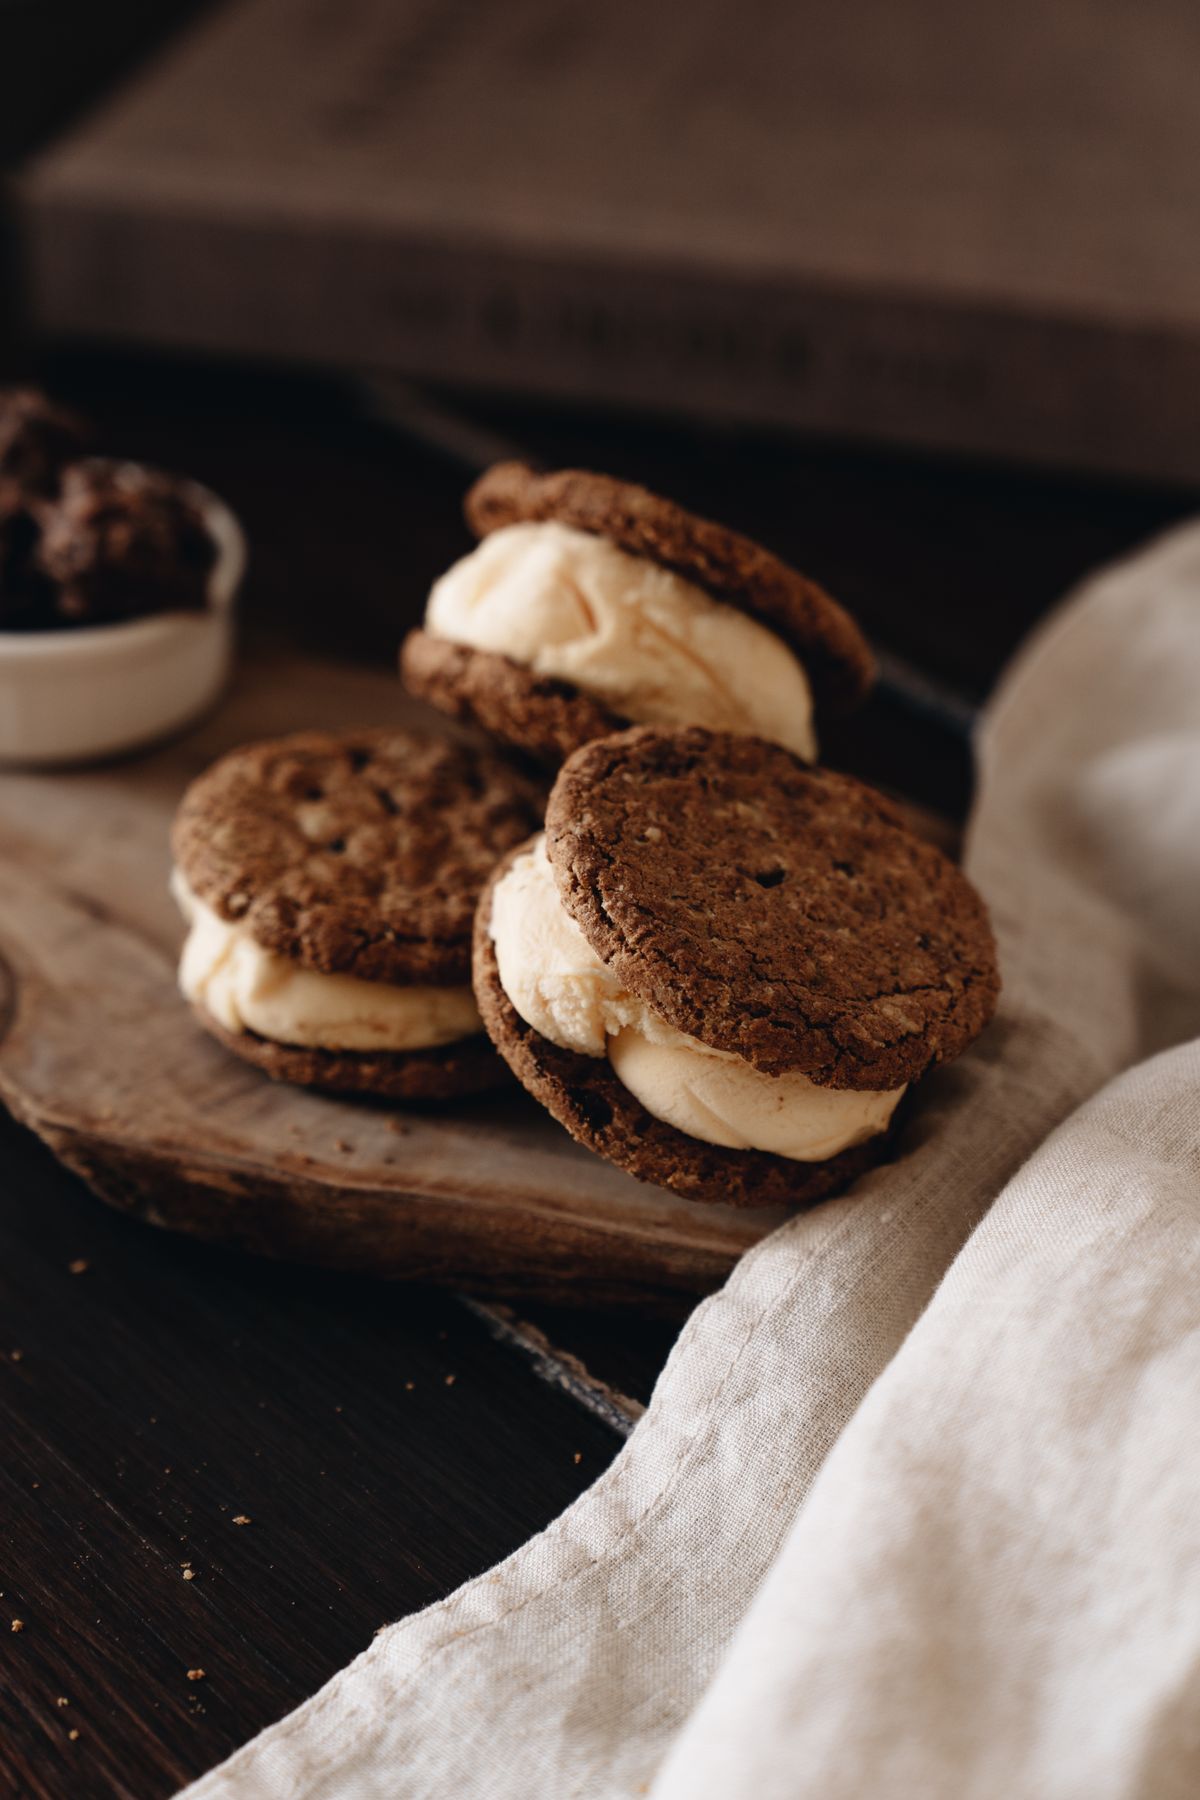
Flat cookies of similar size make assembly straightforward. Extremely hard biscuits can become difficult to bite when frozen, while fragile cookies may crack under pressure. A moderately soft baked cookie is a useful starting point.
The cookies must be fully baked and completely cool. Warm cookies melt the filling, and raw cookie dough is not a substitute. If baking your own cookies, allow their separate baking and cooling time in addition to this assembly recipe.
Match the filling to the cookie size
Seventy-five grams per sandwich is a guide for cookies around seven centimetres across. Smaller cookies need less filling. The aim is a layer that can be bitten comfortably rather than a very tall stack.
Weighing the total ice cream into six portions helps distribute it evenly. Otherwise the first sandwiches can receive generous scoops and the last one ends up thin. Keep portions waiting in the freezer if assembly is slow or the kitchen warm.
Press gently and evenly
Place the top cookie level and apply light pressure across its surface. Pushing hard in the centre can break it. Stop when the ice cream reaches near the edges; it does not need to squeeze out in a thick ring.
A small spatula makes a neat edge without handling the filling extensively. Work quickly and return completed sandwiches to the freezer rather than leaving all six on the counter while decorating.
Make the optional edge manageable
Finely chopped chocolate sticks more easily than large chunks. It also creates a thinner coating that is simpler to bite through. Press it lightly into the exposed ice cream rather than rolling the entire sandwich aggressively.
The edge decoration adds texture and may introduce extra allergens. It is optional: a plain sandwich is easier to wrap, less messy and still has the intended contrast between cookie and ice cream.
Serve with a short pause
Directly from a cold freezer, both filling and cookies may be very firm. Allow a brief pause before eating if necessary, checking the texture rather than leaving sandwiches out for a long fixed period.
Wrap each sandwich in a piece of food-safe paper for handling if desired, but remove any outer storage wrapping first. Keep the rest frozen while serving a few at a time.
What you'll need
- 12 small flat ready-to-eat cookies, about 7 cm across
- 450 g vanilla ice cream
- 40 g finely chopped chocolate or small chocolate chips, optional
Let's make it
- Line a freezer-safe tray with baking paper. Pair cookies of similar size and arrange six flat-side up.
- Portion the ice cream into a bowl and let it become just scoopable, not melted. Place about 75 g on each upturned cookie.
- Set a matching cookie on top, flat side against the ice cream. Press gently until the filling reaches close to the edge without forcing it out.
- Use a small spatula to smooth the exposed ice cream. If using chocolate, press a little around the edge while the filling is soft enough to hold it.
- Freeze the sandwiches on the tray for at least 2 hours until firm. Wrap individually or transfer to a sealed freezer container.
Make it your own
Chocolate or strawberry ice cream can replace vanilla.
Use suitable gluten-free cookies only after checking they have an appropriate texture and meet the intended eater's requirements.
Keeping it fresh
Store individually wrapped inside a sealed freezer container and use within two weeks for best texture.
Do not refreeze sandwiches that have substantially melted after serving. Keep the original ice cream tub frozen during assembly.
Allergen notes
Usually contains milk, wheat/gluten and egg; cookies or chocolate may contain nuts or soya. Check every product.